The Fascinating World of 3D Printing: How These Remarkable Machines Work
3D printing technology has revolutionized manufacturing, prototyping, and creative design across numerous industries. These amazing machines can transform digital designs into tangible objects, layer by layer, with incredible precision. But how exactly do 3D printers work their magic? Let's dive deep into the inner workings of these remarkable devices and explore the technology that's shaping our future.
The Anatomy of a 3D Printer
At first glance, a 3D printer might look like a mysterious box of moving parts, but it's actually a carefully engineered machine with several key components working in harmony. Understanding these components is crucial to grasping how 3D printers function.
The Frame
The frame is the backbone of any 3D printer, providing structural support and stability. Typically made from metal or high-quality plastic, a robust frame is essential for maintaining precise movements during the printing process. Many modern 3D printers feature an open design, allowing users to observe the printing process in action.
The Build Platform
Also known as the print bed, the build platform is where the magic happens. This flat surface serves as the foundation for your 3D printed object. Most build platforms are heated to promote better adhesion of the first layer and prevent warping as the object cools. Advanced printers often feature auto-leveling systems to ensure the build platform is perfectly flat, which is crucial for print quality.
The Extruder
The extruder is the heart of a 3D printer, responsible for melting and depositing the printing material. It consists of two main parts: the cold end and the hot end. The cold end houses the motor and gears that push the filament, while the hot end melts the material and extrudes it through a tiny nozzle. Nozzle diameters typically range from 0.2mm to 0.8mm, with smaller nozzles producing finer details at the cost of longer print times.
The Filament System
Most consumer 3D printers use a filament system to feed material into the extruder. The filament, usually a thermoplastic like PLA or ABS, comes wound on spools. A gear mechanism in the extruder pulls the filament from the spool and pushes it into the hot end. Some advanced printers feature multiple extruders and filament systems, allowing for multi-color or multi-material printing.
Motion Control System
Precise movement is crucial for 3D printing. The motion control system typically consists of stepper motors, belts, and rails that allow the extruder (or in some cases, the build platform) to move in three dimensions. Most printers use a Cartesian coordinate system (X, Y, and Z axes), though some employ alternative setups like delta or polar configurations for different advantages in speed or build volume.
Control Electronics
The brain of a 3D printer is its control board, usually featuring a microcontroller running specialized firmware. This system interprets the G-code instructions (the language of 3D printers) and coordinates the movements of the motors, the temperature of the extruder and build platform, and other vital functions. Many printers now include Wi-Fi connectivity, allowing for remote monitoring and control.
The 3D Printing Process: From Digital to Physical
Now that we understand the basic components, let's walk through the process of creating a 3D printed object, from the initial design to the final product.
1. Creating the Digital Design
Every 3D printed object begins as a digital file. Designers use Computer-Aided Design (CAD) software to create a three-dimensional model of the object they want to print. This could be anything from a simple geometric shape to a complex, intricate structure with moving parts. Popular CAD software includes Fusion 360, Tinkercad, and Blender, each catering to different skill levels and specific needs.
2. Preparing the Model: Slicing
Once the 3D model is ready, it needs to be prepared for printing through a process called slicing. Slicing software, such as Cura or PrusaSlicer, takes the 3D model and virtually cuts it into very thin layers – typically between 0.05mm and 0.3mm thick. The slicer also generates a set of instructions for the printer, known as G-code, which dictates how the printer should move and when to deposit material.
During the slicing process, users can adjust various parameters that affect the print quality, strength, and speed:
- Layer height: Thinner layers result in smoother surfaces but longer print times.
- Infill density: This determines how solid the interior of the object will be.
- Print speed: Faster speeds can reduce print time but may affect quality.
- Support structures: These are automatically generated scaffolds for overhanging parts of the model.
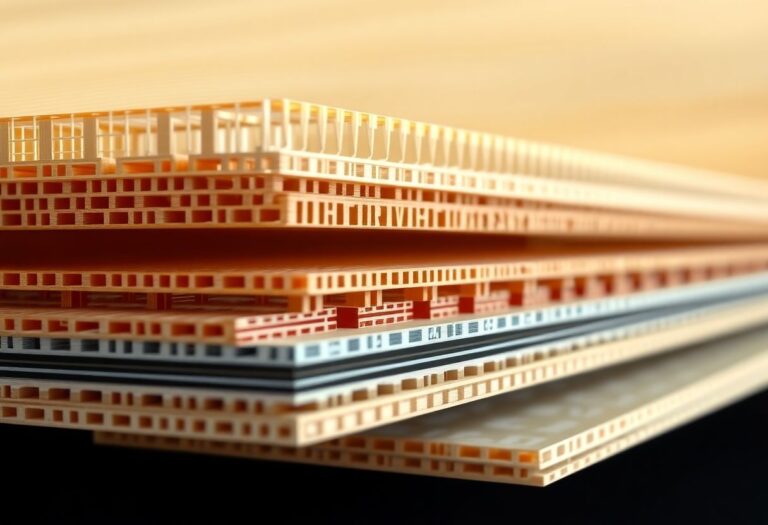
3. The Printing Process
With the G-code prepared, it's time to start printing. The most common type of 3D printing for consumer and prosumer devices is Fused Deposition Modeling (FDM), also known as Fused Filament Fabrication (FFF). Here's a detailed look at how FDM printing works:
-
Heating the Material: The printer heats the filament to its melting point, which varies depending on the material. For PLA, this is typically around 180-220°C, while ABS requires higher temperatures of about 220-250°C.
-
Extrusion: The melted plastic is pushed through the tiny nozzle in the extruder. The diameter of the extruded filament is usually smaller than the nozzle diameter due to a phenomenon called die swell.
-
Deposition: The extruder moves precisely, depositing the molten plastic according to the G-code instructions. The plastic quickly cools and solidifies, adhering to the layer beneath it.
-
Layer Building: Once a layer is complete, either the build platform lowers or the extruder raises (depending on the printer design) by the height of one layer, typically 0.1-0.3mm. The process then repeats, with each new layer building upon the previous one.
-
Infill and Support: As the object is built, the printer creates an internal structure (infill) to provide strength while saving material. It also prints temporary support structures for any overhanging parts of the model.
This process continues layer by layer until the entire object is complete. Depending on the size and complexity of the object, a print can take anywhere from a few minutes to several days.
4. Post-Processing
Once the printing is complete, the object needs to cool down. Depending on its size and the material used, this can take anywhere from a few minutes to several hours. After cooling, many objects require some form of post-processing:
- Support Removal: Any support structures need to be carefully removed, often using pliers or specialty tools.
- Surface Finishing: This might involve sanding for a smoother finish or using chemical treatments to achieve a glossy surface.
- Painting or Coating: Many 3D printed objects are painted or coated for aesthetic or functional purposes.
- Assembly: For complex objects printed in multiple parts, assembly is the final step.
Advanced 3D Printing Technologies
While FDM is the most common 3D printing technology for consumer devices, there are several other methods used in industrial and specialized applications:
Stereolithography (SLA)
SLA printers use a laser to cure liquid resin layer by layer. This technology can produce extremely high-resolution prints with smooth surfaces, making it popular for jewelry design and dental applications. SLA printers typically have a build platform that descends into a vat of photopolymer resin. As each layer is cured by the laser, the platform moves down, allowing fresh resin to flow over the top of the print.
Selective Laser Sintering (SLS)
SLS technology uses a high-power laser to sinter powdered material (typically nylon or metal) into a solid object. The powder bed is preheated to just below the material's melting point, and the laser selectively fuses the particles together. SLS can produce strong, functional parts and doesn't require support structures, as the unfused powder supports the part during printing.
Digital Light Processing (DLP)
Similar to SLA, DLP uses light to cure photopolymer resin. However, instead of a laser, it uses a digital light projector screen to flash a single image of each layer all at once. This can result in faster print times for some geometries.
Metal 3D Printing
Various methods exist for 3D printing metal objects, including Direct Metal Laser Sintering (DMLS) and Electron Beam Melting (EBM). These technologies can produce complex metal parts for aerospace, automotive, and medical applications. Metal 3D printing often requires specialized facilities due to the high temperatures and potential hazards involved.
The Future of 3D Printing
As 3D printing technology continues to advance, we're seeing exciting developments in several areas:
- Multi-Material Printing: Printers that can use multiple types of material in a single print, allowing for objects with varying properties.
- Larger Build Volumes: Industrial-scale printers capable of producing much larger objects, even entire buildings.
- Higher Resolution: Nanoscale 3D printing technologies are pushing the boundaries of what's possible in terms of detail and precision.
- Faster Printing Speeds: New technologies like Continuous Liquid Interface Production (CLIP) promise dramatically faster print times.
- New Materials: Researchers are developing new printable materials, including conductive plastics, ceramics, and even biological tissues.
- Artificial Intelligence Integration: AI is being used to optimize print parameters, predict and prevent failures, and even generate designs.
Applications of 3D Printing
The versatility of 3D printing has led to its adoption in a wide range of fields:
- Prototyping: Rapid creation of product prototypes for testing and refinement, significantly speeding up the product development cycle.
- Medicine: Custom prosthetics, dental implants, and even bioprinting of tissues and organs.
- Aerospace: Lightweight, complex parts for aircraft and spacecraft, reducing weight and fuel consumption.
- Architecture: Creating detailed models of buildings and structures, as well as actual building components.
- Education: Bringing abstract concepts to life in the classroom, from molecular structures to historical artifacts.
- Art and Design: Unleashing new forms of creativity and expression, allowing artists to create previously impossible structures.
- Manufacturing: On-demand production of spare parts and custom components, reducing inventory costs and lead times.
Conclusion: The Layer-by-Layer Revolution
3D printers are fascinating machines that bridge the gap between digital designs and physical objects. By understanding how they work, we can better appreciate the technology that's shaping the future of manufacturing, medicine, art, and countless other fields.
From the precise movements of the extruder to the careful layering of material, 3D printers embody the convergence of multiple technologies – mechanics, electronics, materials science, and software. As these technologies continue to advance, we can only imagine the incredible possibilities that lie ahead in the world of 3D printing.
Whether you're a curious observer or a potential user, the world of 3D printing offers a glimpse into a future where the line between digital and physical becomes increasingly blurred. It's a technology that continues to push the boundaries of what's possible, turning ideas into reality, one layer at a time.
As we look to the future, it's clear that 3D printing will play an increasingly important role in shaping our world. From personalized consumer goods to life-saving medical implants, from sustainable housing solutions to extraterrestrial manufacturing, the potential applications of this technology are limited only by our imagination. The 3D printing revolution is well underway, and its impact will continue to be felt across every sector of society, changing the way we design, manufacture, and think about the physical world around us.